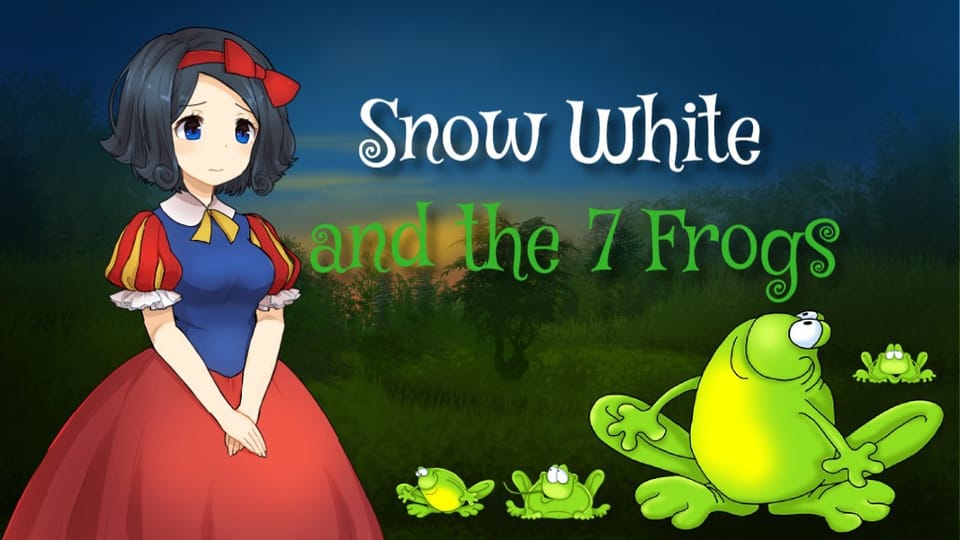
Students will remix classic fairy tales into original narratives by reconfiguring story elements and characters. They will structure their stories and enhance them with digital skills, coding background music and voiceovers on Elementari. Students will finish by publishing, sharing, and commenting on each other's stories!
Pacing
Grade
Grade 3
Coding
Beginner
Students codeOn Page StartParallelBackground MusicVoice Recording
Opens a private practice project in the Studio — no account needed.
Identify story structure elements such as beginning, middle, end, setting, conflict, and resolution.
Remix classic fairy tales by mixing and matching characters and settings.
Code background music and voiceovers to enhance their fairy tale remixes.
Publish and share their stories on Elementari, receiving and discussing feedback from peers.
The student journey
From reading to an interactive project
Elementari is a browser-based tool for creating illustrated, interactive stories and projects. Students plan their writing in the Student Kit, then add it to a digital project in the editor, called Studio.
1
✏️
Write & plan
Students use the Student Kit's storyboard to plan and draft their project. Choose High Support, Guided Support, or Independent to adjust the writing scaffolds.
1Student Kit · sneak peek
Planning questions for this lesson are included in the storyboard.
Glossary a kid-friendly definition for every key term
In the studio, students bring the project to life — adding art and following the exact writing and coding steps shown below. The Studio Compass walks them through it, one step at a time.
🧭Studio CompassStep 1 / 12
Think of Some Fairy Tales 🏰
Explore the list of 20 popular fairy tales and consider how you can put your own spin on them . Here are some prompts to get you started: Imagine a new ending for one tale. Swap ro
Each step checks off & advances on its own
All 12 studio steps · dynamic to the project
1Think of Some Fairy Tales 🏰
2Choose Fairy Tale Characters 🔍
3Plan Your Story ✍️
4Code a Cover Slide 😎
5Introduce Your Main Character 👸🏽
6Set the Scene 🏰
7Introduce the Conflict 🚩
8The Rising Action 💥
9Climax ⛰️
10Resolution ✨
11Create a closing slide 👏
12Enhance Your Story 🎨
3
🔁
Polish
ongoing
Teacher and peer feedback pin right onto the project — students revise until it's ready to share.
Feedback on the project2 pins
🍎
Add one more sentence here so readers get the full picture.
👍 2Teacher
A
The interaction is clear — it helps the reader follow the project!
Students finish and test their projects. Work submitted through a class goes to the teacher for review; publishing a project makes it public with a shareable link.
Open these resources as web pages, then use Print to print them or save a PDF. The Student Kit supports the writing; Studio provides the on-screen build steps.
Common Core State Standards — English Language Arts
6 standards
CCSS.ELA-LITERACY.SL.4.4
Report on a topic or text, tell a story, or recount an experience in an organized manner, using appropriate facts and relevant, descriptive details to support main ideas or themes; speak clearly at an understandable pace.
Also addressedCCSS.ELA-LITERACY.SL.4.5 · CCSS.ELA-LITERACY.W.4.3 · CCSS.ELA-LITERACY.W.4.3.a · CCSS.ELA-LITERACY.W.4.3.b · CCSS.ELA-LITERACY.W.4.6
CSTA
CSTA K–12 Computer Science Standards
5 standards
1B-AP-10
Create programs that include sequences, events, loops, and conditionals.
Also addressed1B-AP-11 · 1B-AP-12 · 1B-AP-15 · 1B-IC-18
ISTE
ISTE Standards for Students
11 standards
ISTE 6a
Students choose the appropriate platforms and tools for meeting the desired objectives of their creation or communication.
Also addressedISTE 6b · ISTE 6d · ISTE 6c · ISTE 5a · ISTE 5c · ISTE 7a · ISTE 4d · ISTE 4c · ISTE 4a · ISTE 4b
AASL
AASL National School Library Standards
4 standards
AASL I.A.2
Recalling prior and background
knowledge as context for new
meaning
Also addressedAASL I.B.3 · AASL I.C.1 · AASL I.C.4
Full task-by-task mapping — including Depth of Knowledge — is in the answer key.
Differentiation & accessibility
Choose the writing support
These are the three support options in the Student Kit. Choose the scaffolds students need while keeping the same project.
High Support
More writing scaffolds
Sentence frames break the response into manageable parts
Supplied words and ideas help students get started
Students still have space to write their responses
Guided Support
A starting point for writing
Task prompts and selected sentence starters
Writing cues and word banks where supplied
Space to develop each response
Independent
Less scaffolding
The same project and required writing tasks
Open response space without the support frames
Students develop their own wording
Accessibility, built inPredictable step-by-step structureOne task at a time · Studio CompassHighlighted response areasLow-stimulation printMovement-friendly pacingDesigned so every student can design, write, and code — with ADHD, autism, and dyslexia in mind.
Questions
Teacher FAQ
Do I — or my students — need to know how to code?
No prior coding knowledge is required to start. Students follow on-screen build steps in Studio. Coding difficulty describes the project's complexity; teachers may still need to help students test and revise. The lesson plan supports teaching, and the Answer Key provides sample writing responses.
How long does this lesson take?
About 115, paced into 45-minute class periods. You can spread it out or compress it — students pick up where they left off, so it doesn't have to finish in one sitting.
What devices does this lesson work on?
Use a Chromebook, laptop, desktop or tablet with a modern browser and an internet connection. The project editor does not support phones. Try the build on your class devices before teaching.
What is Studio Compass?
Studio Compass is the step-by-step guide inside the Studio. It shows students what to do next, identifies the exact coding blocks they need, and confirms completed milestones so they can keep moving independently.
How does this lesson support different learners?
The Student Kit has High Support, Guided Support and Independent writing profiles. They change the amount of scaffolding for the same project. Choose a profile in the kit before printing, and use the lesson plan's differentiation suggestions.
Ready when you are
Bring this lesson to your class
Import your class, assign in one click, and watch them build — the whole kit comes with it.