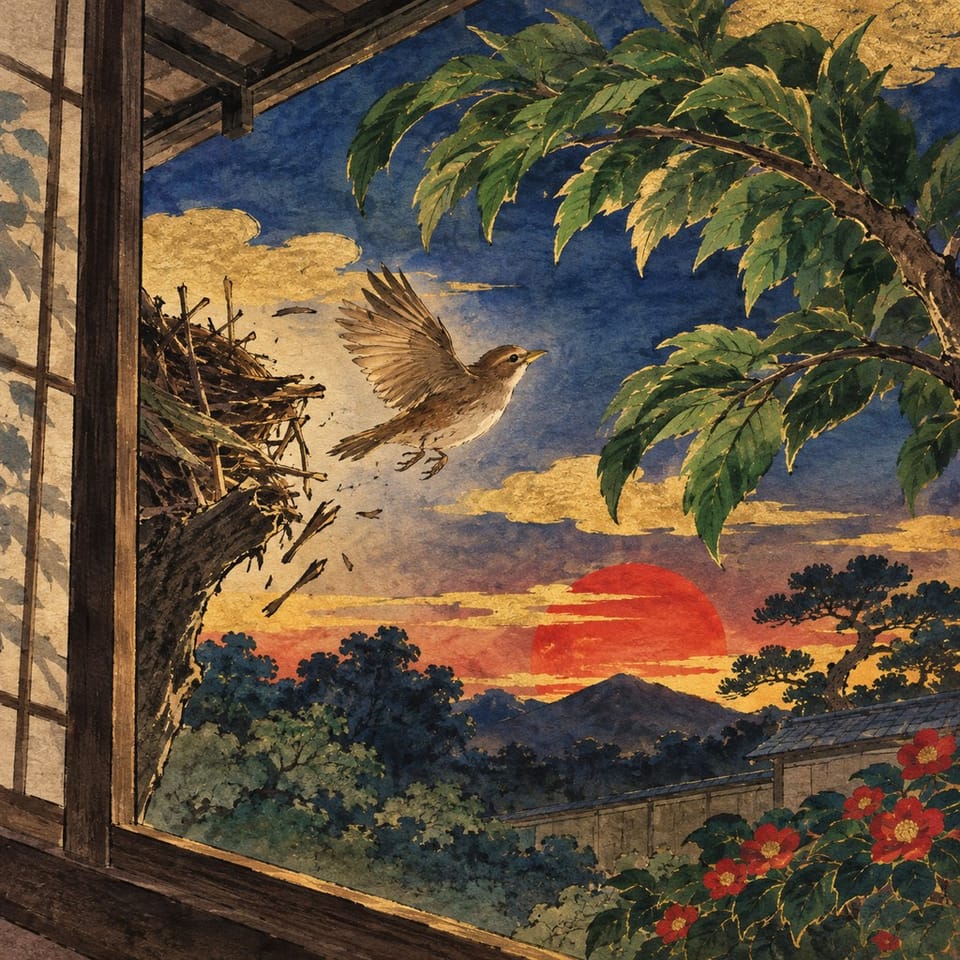
Students write and build a short interactive story about Pip's journey from a damaged nest to a safe place. The work focuses on choosing setting details, a single obstacle, movement words that trigger the character, and one sensory detail at landing. Students will read a short nonfiction passage about how small birds stay safe in storms, draft text in the Organizer, then copy, design, and add simple interactions so readers can say commands to move Pip.
Pacing
2–3 days · 3 × 45 min
Niveau
Niveau 3
Coding
Débutant
Students codeCollision (when sprites touch)Speech bubbleWhen page startsRun at the same time
Ouvre un projet d’essai privé dans le Studio, sans compte.
How do small birds find shelter and stay safe in a storm?
Students will be able to
TITLE PAGE
Garden path
Pip and a safe place
Storm obstacle
Movement words
Key vocabulary
fledglingsettingshelter
The student journey
This is a build — not a worksheet packet
Every lesson runs like the story students are about to make: read it, write it, build it, polish it, publish it. The printables scaffold each stage — the published Elementari project is the destination.
Lesson Flow · Pacing: 2–3 days · 3 × 45 min Design & code: ~60 min
1
📖
Read
Students read a short, high-interest passage — a real-world hook, not a dry textbook definition — to spark ideas for what they'll make.
📖How Small Birds Stay Safe in a Storm
When dark clouds roll in and the wind starts to blow, small birds stop flying around. Stormy air makes flying hard work, so they find a safe place and wait. Many small birds hide inside a thick hedge or a bushy evergreen tree. Thick leaves …
In the studio, students bring the project to life — adding art and following the exact writing and coding steps shown below. The Studio Compass walks them through it, one step at a time.
🧭Boussole du StudioConsigne 1 / 9
TITLE PAGE
Write a title for the cover; readers see it appear as the opening music sets the scene.
Mots-clés — appuie pour en savoir plusOn Pronounce
Chaque étape se valide et ouvre automatiquement la suivante
Les 9 étapes du Studio, adaptées au projet
1TITLE PAGEabout 0 min
2Garden pathabout 5 min
3Pip and a safe placeabout 5 min
4Storm obstacleabout 5 min
5Movement wordsabout 10 min
6Animate Pip when 'up' spokenabout 10 min
7Animate Pip when 'right' spokenabout 10 min
8Advance to landing on collisionabout 10 min
9Safe landingabout 5 min
4
🔁
Polish
tout au long du projet
Teacher and peer feedback pin right onto the project — students revise until it's ready to share.
Feedback on the project2 annotations
🍎
Ajoute encore une phrase ici pour que les lecteurs comprennent toute la situation.
👍 2Enseignant
A
L’interaction est claire et guide bien le lecteur !
A couple of things to gather, a few quick steps to prep — then you're ready to hand it to students.
What you need
A device per student or pair
Internet connection
Provided background reading
Student Organizer
Un microphone (pour les enregistrements ou les activités déclenchées par la voix)
Un casque ou des haut-parleurs
Un appareil par élève ou par binôme
Une connexion Internet
Préparation avant la séance
1Print the student organizers
2Assign this lesson to your students
3Skim the build steps
Teacher background
What you need to know
Key terms
fledgling
A young bird that has just left the nest and is still learning to fly.
setting
Where and when a story happens.
shelter
A safe place that protects someone from danger or bad weather.
Watch for these misconceptions
✕
Vague setting detail →Ask the student to point to one visible object (fence post, branch, hollow) and add one describing word.
✕
Movement words unclear or reversed →Have the student say each movement word aloud and demonstrate which direction it should move Pip before testing.
✕
Interaction does not trigger on the spoken word →Play and test the page: say the exact word(s) the student wrote; if it fails, check spelling and that the spoken trigger is linked to the character image.
Standards alignment
Aligned to the standards you teach
Every task maps to a specific standard, so planning and reporting are covered.
Référentiels suivis (7) : Common Core ELA, Common Core Math, NGSS +4
Le corrigé détaille la correspondance de chaque consigne, niveau DOK compris.
Differentiation & accessibility
Built to reach every learner
One lesson, three built-in paths — with accessibility baked into the materials, not bolted on afterward.
Extra support
Emerging readers & writers
Lecture à voix haute et aide multilingue dans le projet Elementari
La Boussole du Studio affiche une consigne à la fois, codage compris
Modèles de phrases et banque de mots pour ne jamais partir d’une page blanche
On grade
The core lesson
Le texte de lecture et le storyboard, sans adaptation
Réponses modèles et points d’attention dans le corrigé
Des repères d’autoévaluation à chaque étape
Ready for more
Extension & challenge
Vocabulaire enrichi et question de prolongement ancrée dans le réel
Approfondir une page ou une interaction, sans modifier les mécanismes demandés
Consigne de réflexion plus développée, appuyée sur le texte
Accessibility, built inDes étapes claires et prévisiblesUne consigne à la fois · Boussole du StudioDes zones de réponse bien visiblesUn support imprimable épuréUn rythme adapté aux besoins de mouvementDesigned so every student can design, write, and code — with ADHD, autism, and dyslexia in mind.
Questions
FAQ des enseignants
Mes élèves ou moi, devons-nous savoir coder ?
Non. Les notions de codage sont introduites en langage simple, au moment où l’élève en a besoin, et la Boussole du Studio valide chaque étape pour que les élèves avancent sans que vous ayez à dépanner. Le guide pédagogique vous accompagne dans toute la création, corrigé compris.
Combien de temps dure cette leçon ?
Environ 2-3 days, répartie en séances de 45 minutes. Vous pouvez l’étaler ou la condenser : les élèves reprennent où ils s’étaient arrêtés, rien n’oblige à tout terminer d’un coup.
Sur quels appareils cette leçon fonctionne-t-elle ?
Les élèves peuvent lire, écrire, coder et publier sur Chromebook, iPad, tablette, ordinateur portable ou ordinateur de bureau. Un navigateur récent suffit : ni téléchargement ni installation.
Qu’est-ce que la Boussole du Studio ?
La Boussole du Studio est le guide pas à pas intégré au Studio. Elle indique aux élèves quoi faire ensuite, désigne les blocs de code exacts dont ils ont besoin et valide les étapes terminées pour qu’ils avancent en autonomie.
Comment cette leçon s’adapte-t-elle aux différents profils d’élèves ?
Cette leçon propose la lecture à voix haute avec surlignage synchronisé, un glossaire intégré et un storyboard illustré, avec des aides à l’écriture et au codage que vous pouvez renforcer ou alléger. Les élèves travaillent avec un accompagnement guidé ou plus librement — et réalisent le même projet.
À votre rythme
Attribuez cette leçon à votre classe
Importez les élèves, attribuez la leçon en un clic et lancez la création. Le dossier pédagogique est inclus.